 Wi-Fi SYSTEM
 To get started, go to the website dd-wrt.com and download the factory-to-ddwrt.bin firmware file that matches your router model and its hardware version.
We recommend using the DD-WRT software (version r25697 released on 22.12.2014). If your router model cannot be found in this section, try the latest version in the beta section. To configure the beta version, read below.
Load the DD-WRT firmware in the router. Instructions on how to replace the firmware can be found on the DD-WRT developer’s website or on their forum.
After updating the firmware, enter the address 192.168.1.1 into your browser. You will see a page asking you to enter a new username and password. Enter them and write them down.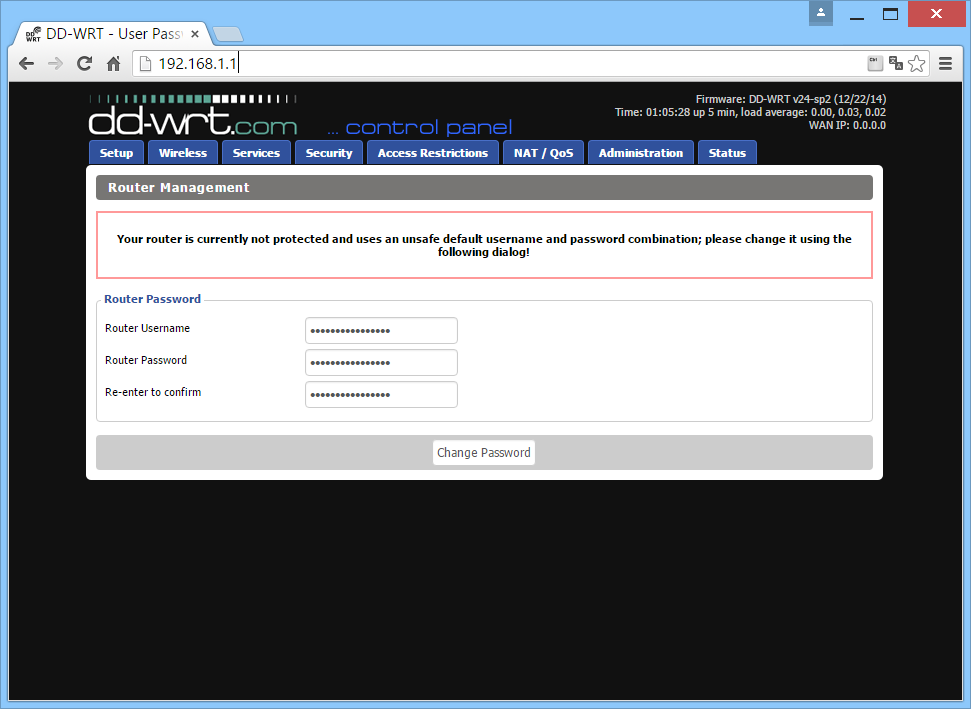
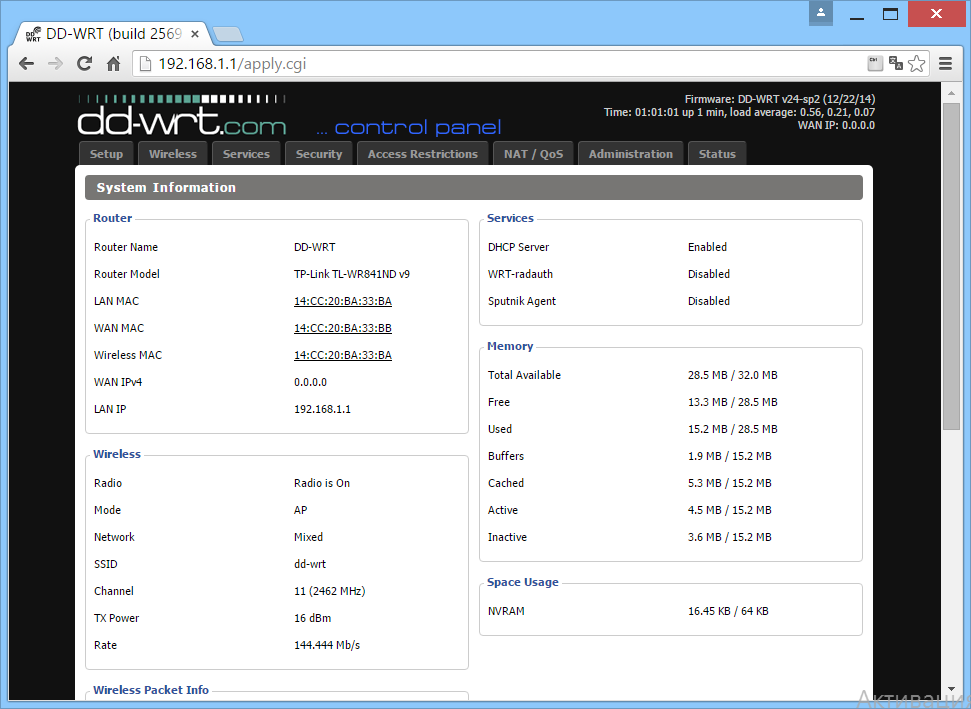
Next, you will be directed to the router status page.
Now we set up the router. In the menu, select Setup – Basic Setup. In the Network Setup section, write 192.168.99.1 in the Local IP Address field. This will be the new address of your router. We change it in order to avoid future network conflicts with other routers in your network in the future. There is a high probability that you might have such routers in your network.
In the Local DNS, enter 8.8.8.8 as the IP address of the DNS server
On the same page, in the Network Address Server Settings (DHCP) section, disable 3 options – Use DNSMasq for DHCP, Use DNSMasq for DNS, and DHCP-Authoritative.
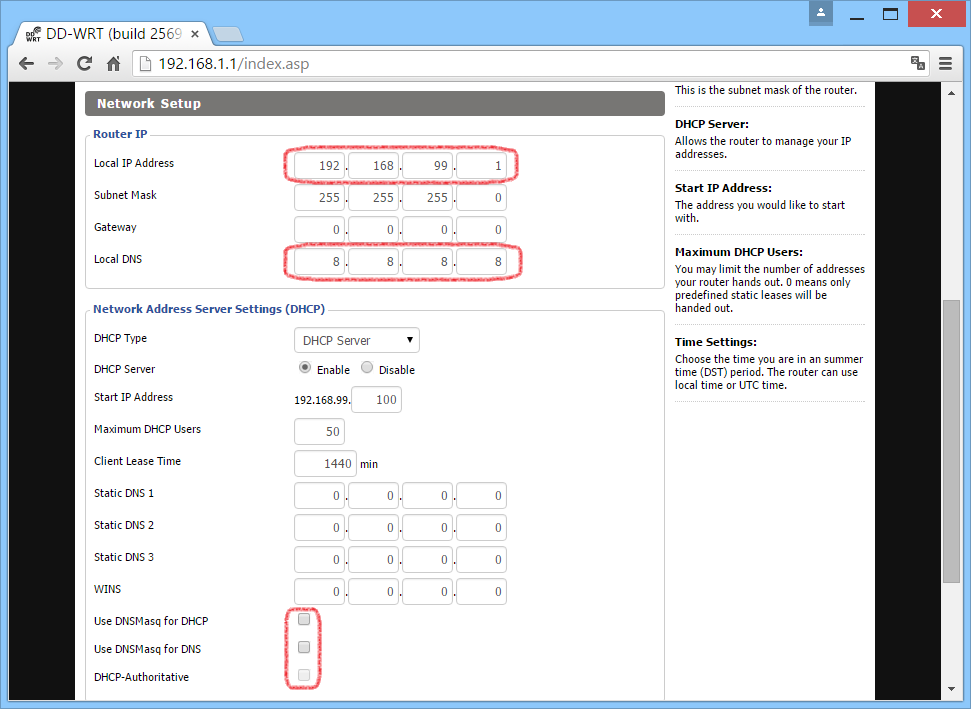
Note: after applying the parameters, the router’s address will change to 192.168.99.1
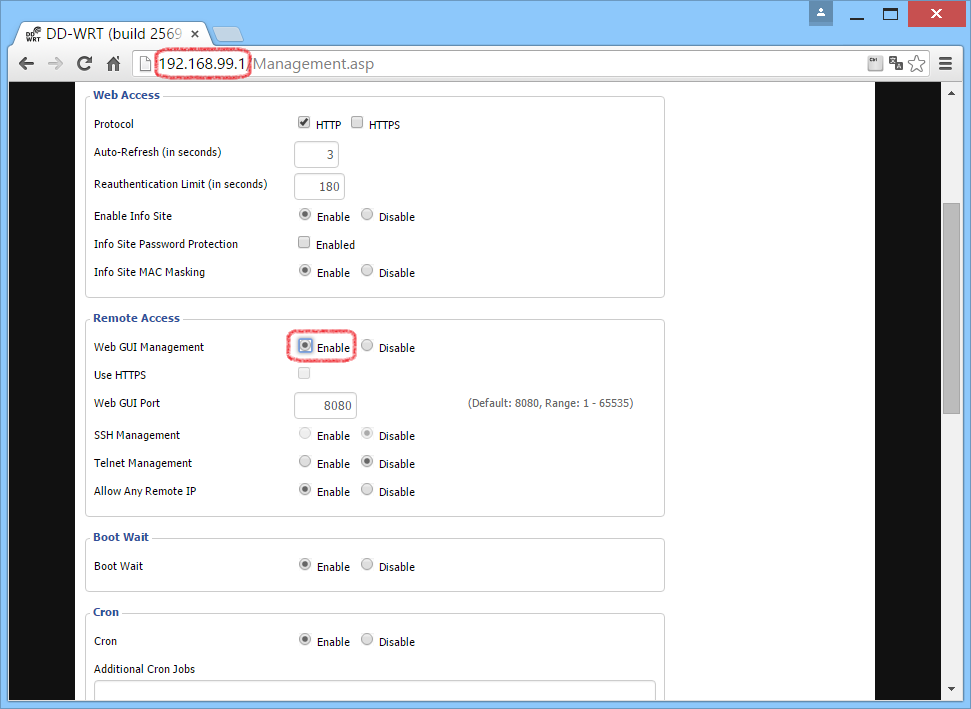
In order not to lose control over the router, let’s configure remote access from the external network through the WAN port. Go to the page Administration, and then to Management. In the RemoteAccess section, enable HTTP in the Web GUI Management options. After that, the router will be available via its external IP address and port 8080.
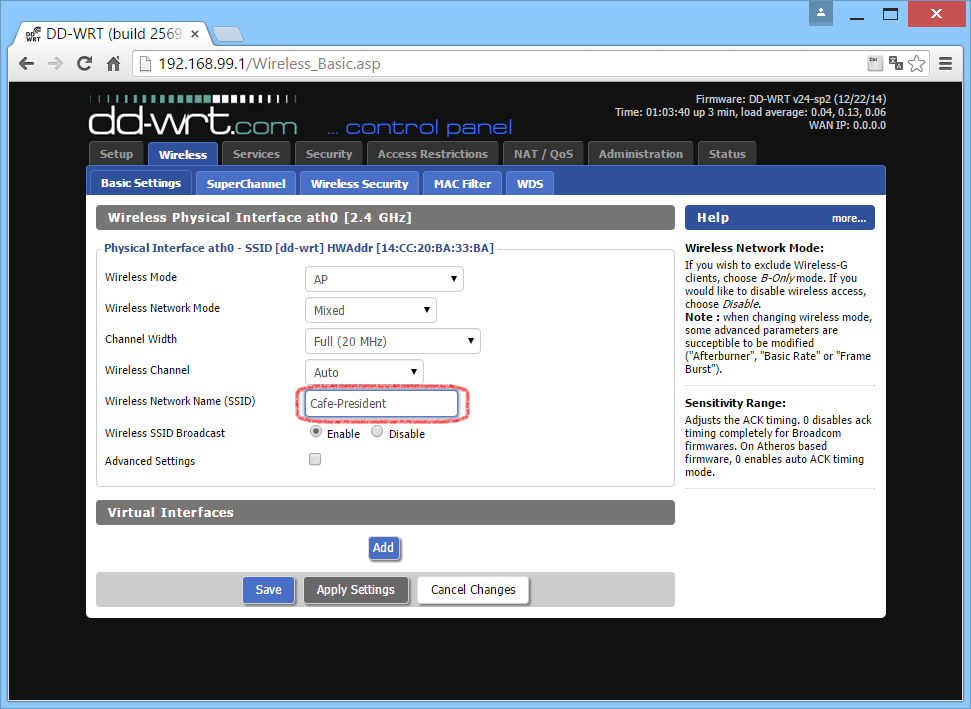
We now set up the WiFi access point. Open the page Wireless, go to Basic settings. In the Wireless Network Name (SSID) field, enter the name of your WiFi hotspot, for example, the name of your company.
The name of the hotspot can contain only English letters, numbers and symbols. Cyrillic letters cannot be used.
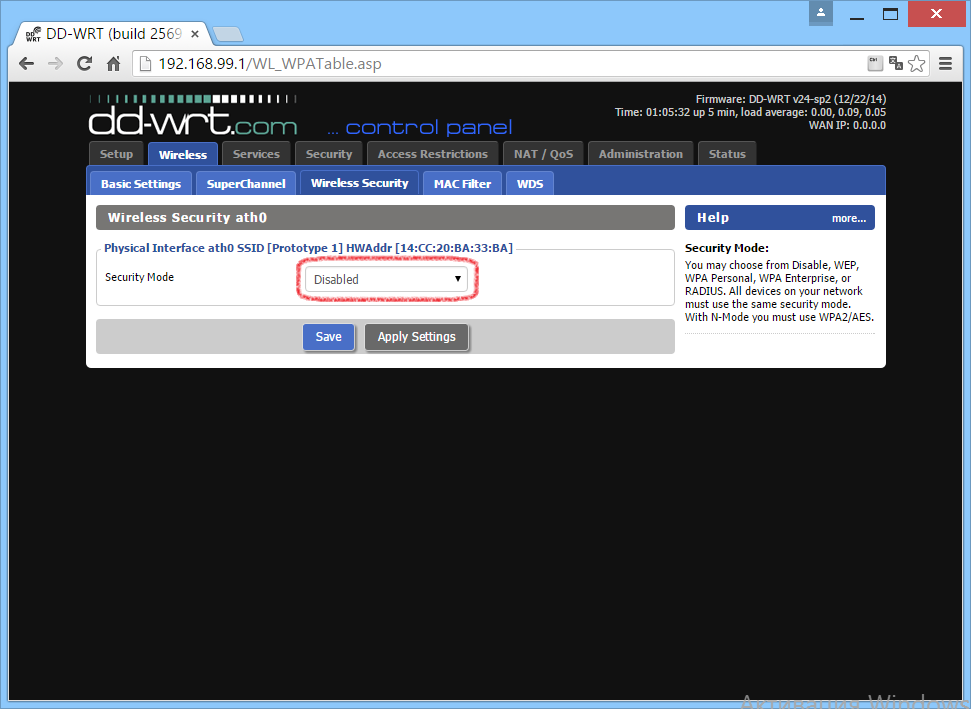
Go to the page Wireless, then to the section Wireless Security, and make sure the Security Mode option is set to Disabled.
Now we configure the hotspot itself.
- Open the Services – Hotspot page
- In the Chillispot section, activate the Chillispot option by selecting the Enable checkbox
- In the Primary Radius Server IP/DNS field, enter radius.wifi-sys.com
- In the Backup Radius Server IP/DNS field, enter radius2.wifi-sys.com
- In DNS Server IP, enter 8.8.8.8
- In Redirect URL, enter https://auth.wifi-sys.com/hotspotlogin
- In Shared Key, enter the key wfs123
- In Radius NAS ID, enter the ID of your hotspot from your personal area
- In the UAM Secret field, enter the password of your hotspot from your personal area
- In the UAM Allowed field, enter the following:
For social networks, you need to additionally specify the following addresses:
In the UAM Domains field, enter:
wifi-sys.com paypal.com paypalobjects.com

Possible problems
Make sure that you did not accidentally enter extra spaces in the UAM Allowed field, otherwise something might go wrong. If you are using the beta DD-WRT firmware, instead of the names radius1.wifi-sys.com and radius2.wifi-sys.com, enter their IP addresses 195.14.118.42 and 95.167.165.93 in the Primary Radius Server IP/DNS and Backup Radius Server IP/DNS fields.
At this stage, your WiFi hotspot has been configured.